Step 1: Choose Seating plan from the menu bar on the left hand side.
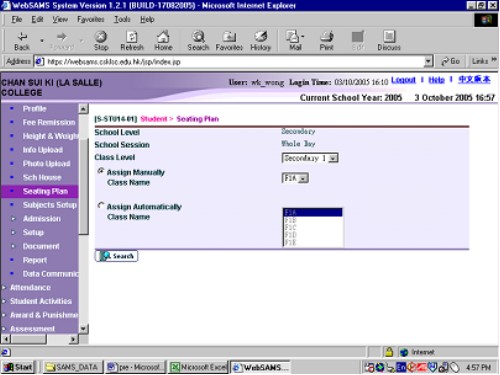
Step 2: Choose a class level and a classname from pull down menus.
Step 3: Choose a way to assign the seating plan. ( manually / automatically according to the class no. )
Step 4: Press [Search]
Step 5: Key in the number of rows and number of columns in the class you choose.
Step 6: Press [Setup]

Step 7: key in the class numbers.
Step 8: Press [Save]
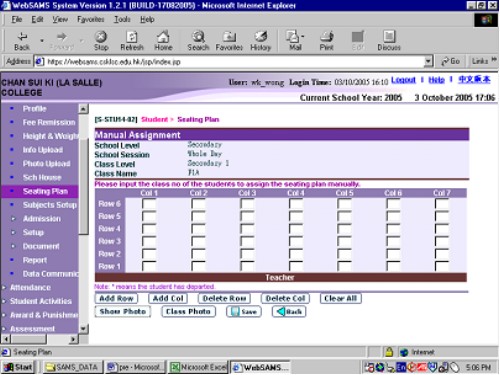
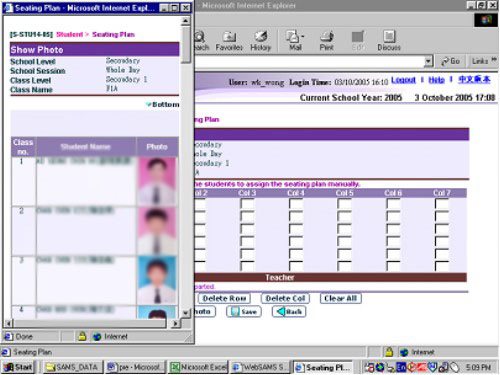
Step 9: Press [show photo] will show you the photos of each students.
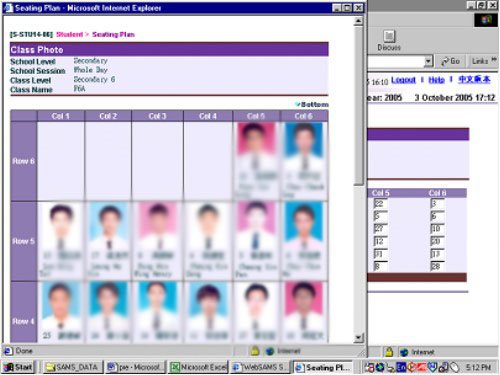
Step 10: After you have arranged seat for each student, you can take a view of the seating plan by pressing [class photo]